Bootstrapper for Visual Studio
Since the beginning of 2017, a bootstrap is available to facilitate and speed up the creation of a new NBi project in Visual Studio. In less than 1 minute, without editing config files, you can create your own test-suite and run edit with the NUnit UI.
The first step is to create a new project (File > New > Project …) and select the type of project Class Library (.NET Framework). Don’t forget to provide a useful name for your test-suite/project.

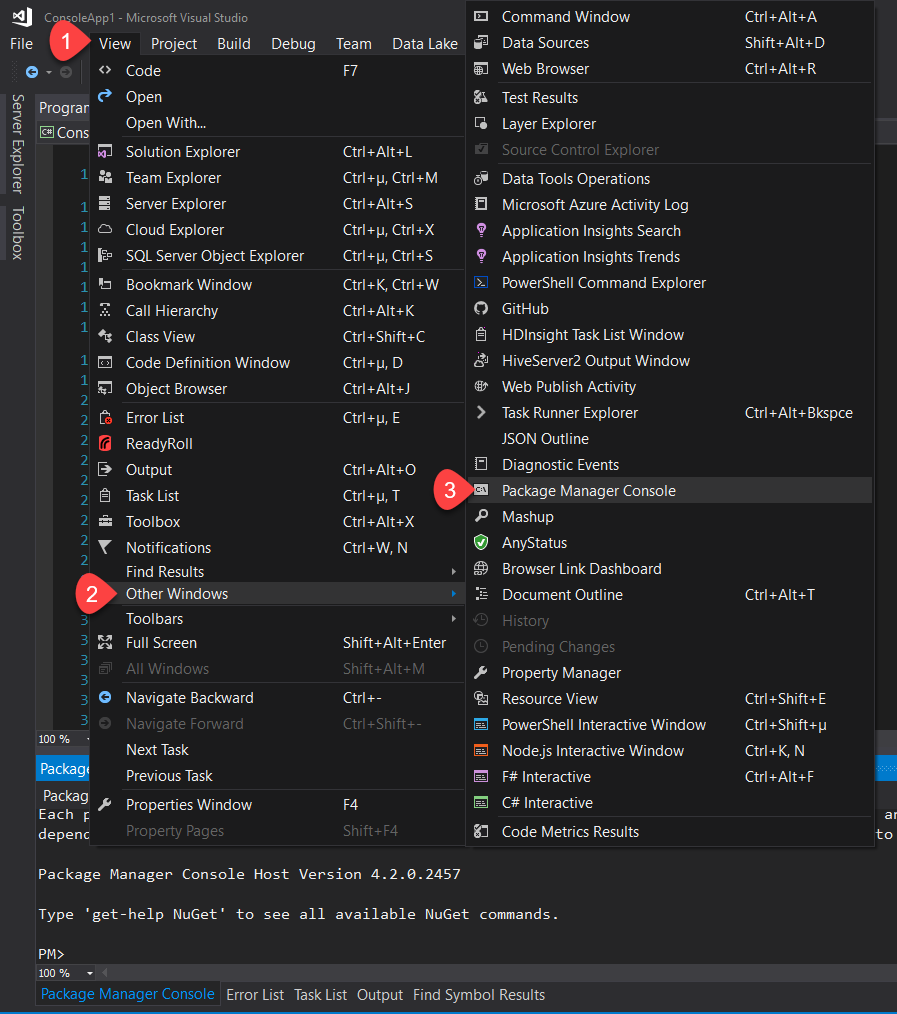
Second step, go to the “Package Manager Console” window. If this dockable window is not visible, go to View > Other Windows > Package Manager Console.
In this window, execute the following cmdlet:
Install-Package NBi.VisualStudio
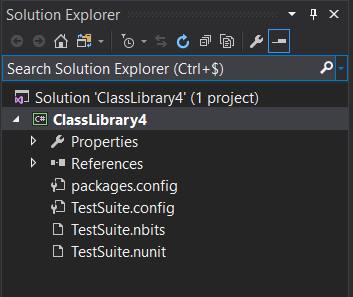
Visual Studio will automatically download the latest versions of NUnit 2.x and NBi, adapt the solution and create all the needed files (.nbits, .config, .nunitproj) then will correctly configure them.
You can now press F5 (or Start/debug) to run the test-suite. Visual Studio will open the NUnit GUI, automatically loaded with the test-suite (and configuration) available in your project. That’s it!
The next pages explain all the internals of the configuration of NBi and advanced installation steps on machine without Visual Studio. You can probably skip these pages, at the moment, and directly go to the section about tests